Yoghurt or yogurt, however you spell it, it's delicious, and I've become a little obsessed with yoghurt recently and have started making my own homemade natural yoghurt.
Does making your own homemade natural yoghurt sound complicated? Well, surprisingly, it's really quite simple. So simple in fact you'll be surprised.
And no, you don't need to run out and buy a yoghurt maker to start making your own. All you need are a few pieces of equipment that you perhaps already own. A thermometer (digital is best, but the old fashioned kind will work too), a saucepan and a thermos. That's it!
You will also need to buy a tub of yoghurt, as we'll be using the live cultures from that yoghurt to make your very own batch of homemade natural yoghurt. Just make sure it's not a flavoured yoghurt and check the label for the words "live cultures". The live cultures are what you will be using to culture milk to make your own natural yoghurt. After you've made your first batch of yoghurt you can use the previous batch to make a new batch and so on for a never ending supply of delicious homemade natural yoghurt.
The first time I made my own homemade natural yoghurt I left the yoghurt in the thermos for 12 hours, as I forgot to set a timer, and got distracted. The resulting yoghurt had quite a tart taste. The next few batches I made I left for 6 hours and the yoghurt had a much subtler taste, with a very slight tartness to it.
Over the last few weeks I've been making batch after batch of homemade natural yoghurt, and well, this method is pretty much foolproof. While the recipe below uses full cream milk, I've also made batches with skim milk too, and they've been just as successful. As you would expect though, the skim milk yoghurt isn't quite as thick and creamy as yoghurt using full cream milk.
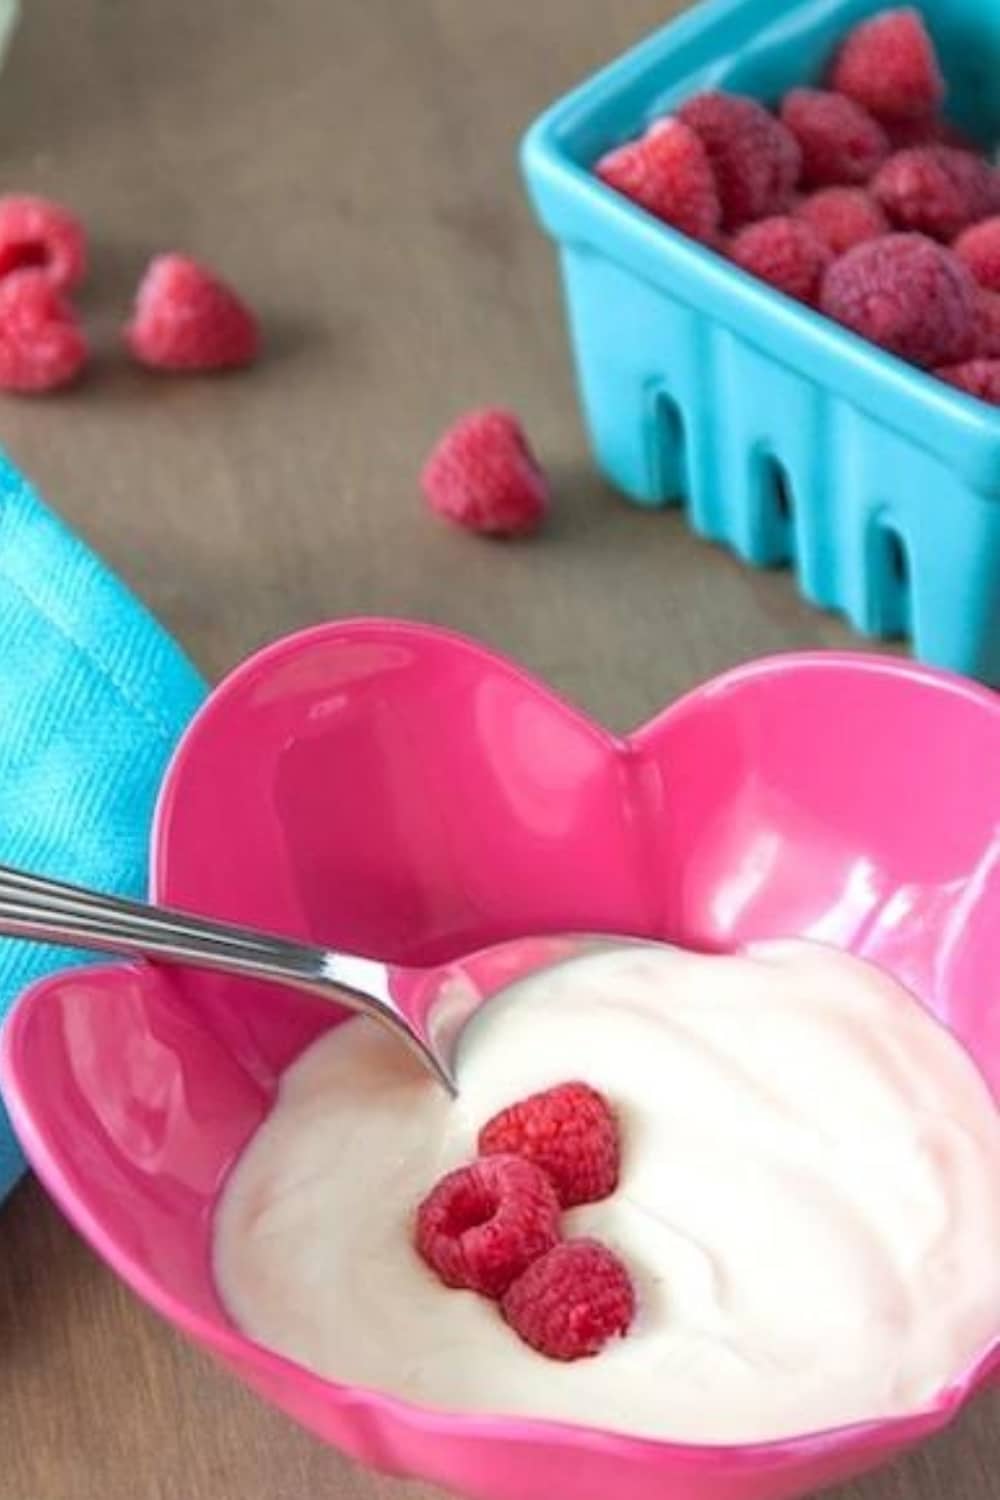
After you've made your own homemade natural yoghurt you can then sweeten it with honey, add vanilla seeds or even add a fruit compote. It's infinitely flexible. And if you prefer a thicker, Greek style yoghurt, simply strain through muslin or a tea towel for a couple of hours or until you reach the thickness you want.
So, if you love natural yoghurt, give homemade yoghurt a go. It's easy and extremely economical too.
Have you tried making your own yoghurt or Greek yoghurt? Leave a comment below to tell me how it went or share your tips for your perfect yoghurt.
Recipe
Ingredients
- 1 cups litre of full cream milk 4, whole
- 50 g of powdered milk 1.5 oz
- 3 tbs of yoghurt containing live cultures
Instructions
- Fill the sink with cold water and place a couple of ice packs in the water.
- Place the milk and milk powder in a saucepan and stir to combine over a medium heat. Place the thermometer into the saucepan and stir occasionally while you bring the milk up to 90 degrees celsius (194 Fahrenheit) and hold at this temperature for 5 minutes.
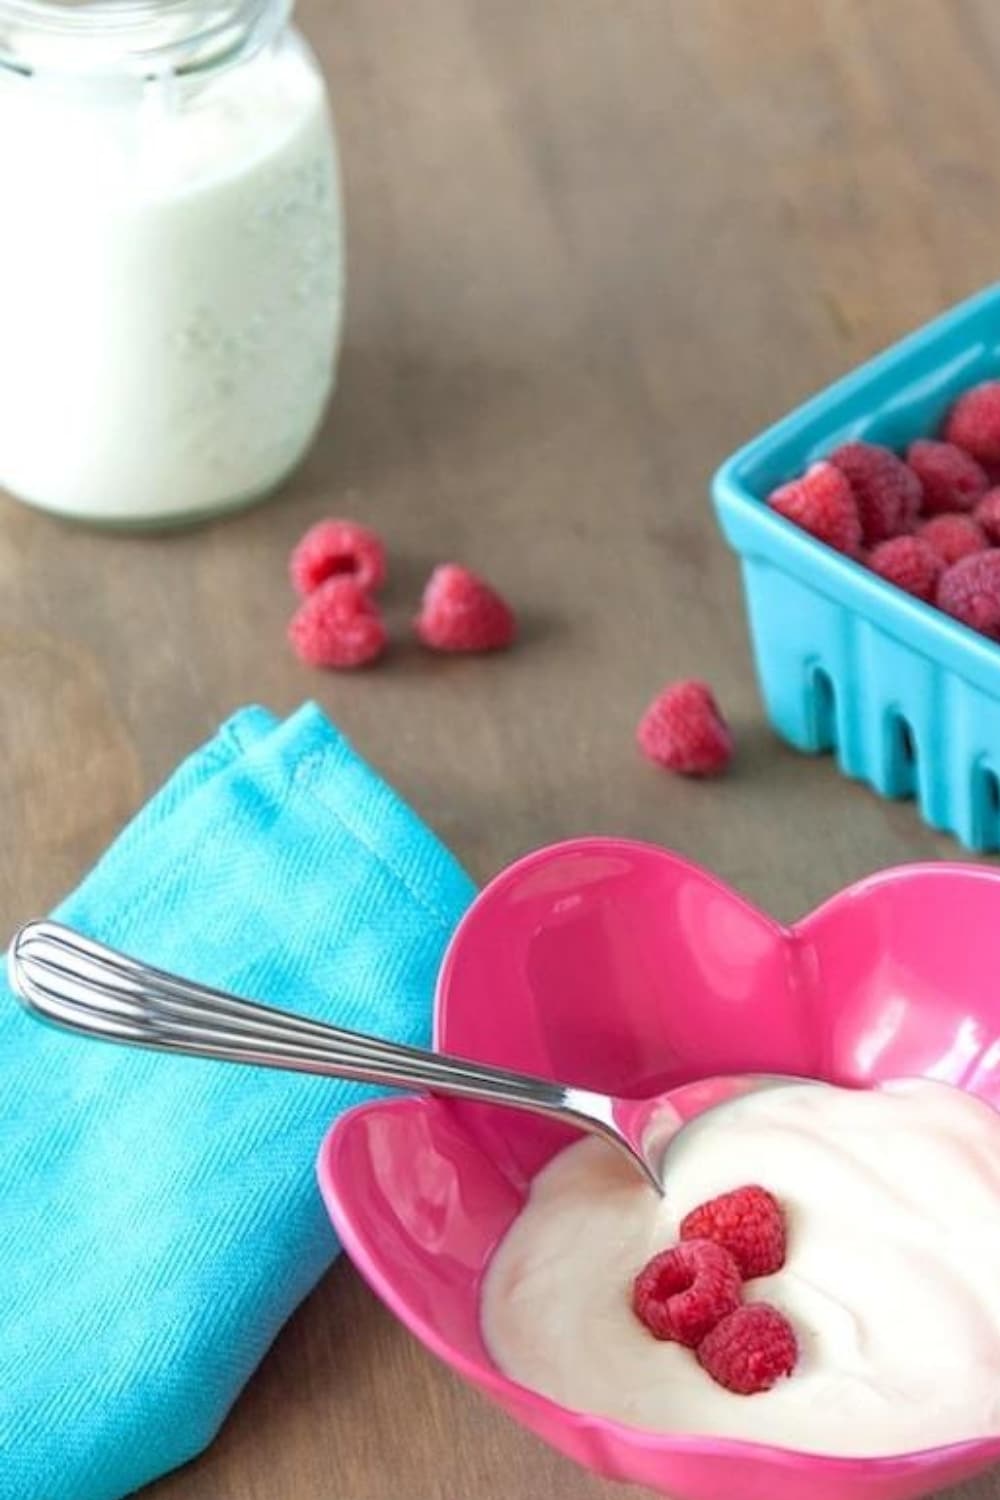
- Remove the saucepan from the heat and place in the sink and stir as you bring the temperature down to 46 degrees celsius (115 Fahrenheit). Remove the saucepan from the water and use a whisk in the yoghurt until combined. Pour into a thermos and seal and leave for 6 hours. Decant the yoghurt into jars or sealed containers and refrigerate.
Notes
Yoghurt can also be made with skim milk, although the consistency is slightly thinner. For a thicker yoghurt strain through muslin for 2 hours. For a stronger tasting yoghurt leave for 12 hours before decanting.
Laura (Tutti Dolci) says
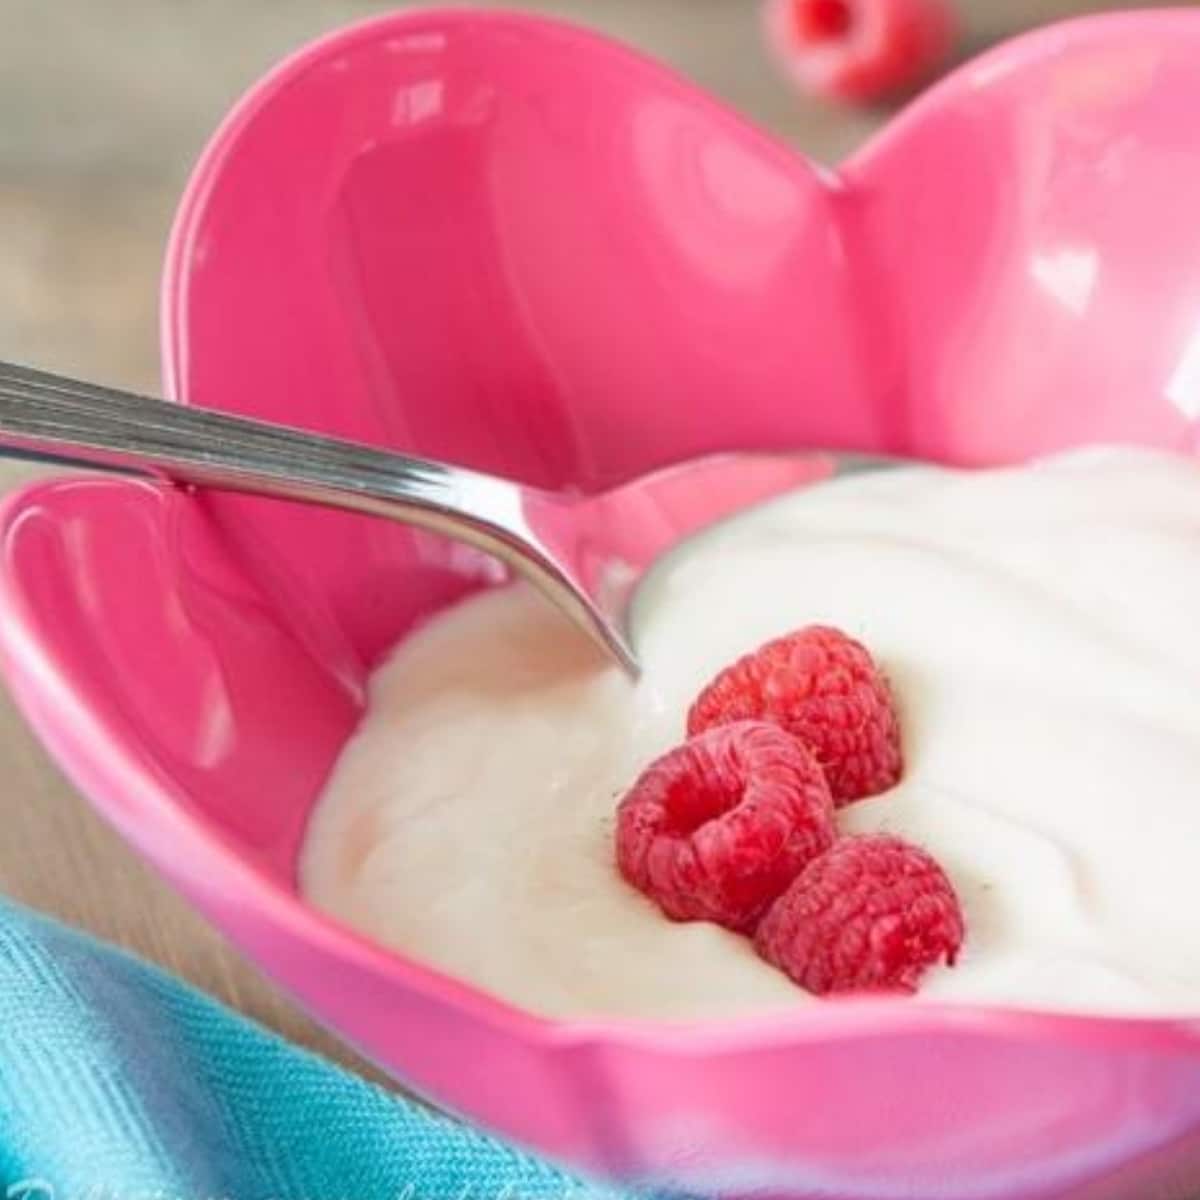
Your yoghurt looks so creamy and delicious, and those raspberries are the perfect topping!
Rosa says
Delicious! Making your own yogurt must be fun.Cheers,Rosa
Miss Piggy says
I make my own yoghurt too - it's so simple. I like the idea of putting it in to a thermos, I've been using a container wrapped in a blanket.
Jennifer says
It's fantastic isn't it 😀 I don't think I'll ever go back to buying yoghurt.
Mariette says
I make drinking yoghurt for my children! I'll share my recipe:500g powdered milk1,5 liter cold water2 liter boiling water175 ml plain yoghurt containing live cultures2 packets flavoured jelly (jello) powder, any flavour your children likeMix the powdered milk with the cold water in a 5 liter bucket (with a tight fitting lid)Add the boiling water and jogurt and mix well. Seal with the lid.Place the container in a cooler bag (or wrap it in a blanket) and leave overnight.The next day: Mix the jelly powder with 2 cups of boiling water and add to the yoghurt mixture.If you would like it sweeter, add a cup of sugar to the mixture. You can also add fruit compote if you like.Place in the refridgerator until completely cold and the drinking yoghurt is ready to enjoy.The yoghurt will thicken the longer it stands, so you will end up with propper flavoured yoghurt in the end.
Jennifer says
Sounds fantastic Mariette. Thanks for sharing 😀
Sneh | Cook Republic says
Making yoghurt from scratch was one of the first few things my mum taught me in the kitchen when I was about 10. It was magical! I recently got a double-walled, lidded yoghurt bowl from Aldi's .. perfect for setting yoghurt! Yours looks so creamy and luscious 🙂
thelittleloaf says
I eat a lot of yoghurt but have never made my own - this looks really lovely and something I definitely need to try!
Claire @ Claire K Creations says
That does sound very easy Jen! My only concern is cleaning the thermos out. Is it easy? It sure looks good and so thick and creamy.
Jennifer says
Hi Claire, I clean the thermos with boiling water and it cleans up beautifully. I also use a food thermos, which has a wider top, but you could use a regular thermos too. You can find food thermos in most stores, but I picked mine up at Harris Scarfe for around $30.
Lizzy (Good Things) says
Interesting Jennifer, I haven't made my own yoghurt before, but you make it look so simple I might just try it! : )
Jen @ Savory Simple says
I have always wanted to try this!
Kathryn says
Using a thermos is a great idea - can't wait to try this!
The Life of Clare says
Thank you so much! I've recently decided that I really want to start making my own foods and yoghurt was one of them! I'm definitely going to give this a try ASAP!
Emily says
I've always wanted to make my own yogurt...thanks for the recipe!
Sylvie @ Gourmande in the Kitchen says
I do make my own yogurt and can't believe I didn't start sooner it's so easy!
Roxana | Roxana's Home Baking says
Homemade yogurt is the best. I've tried a couple of recipes, can't wait to try your version, looks so creamy, mmm
Cookin Canuck says
We positively devour yogurt in my house, but I have never tried my hand at making it. Great tutorial!
Kiran @ KiranTarun.com says
Love this post! My mom and I have always make our own yogurt without all of those fancy machines. I have a post already in the works to share my recipe! Mmmmm 🙂
Rachel Walker says
My granny used to make yoghurt. Then for a generation I think everyone got excited about convenience stores - now homemade yoghurt seems to be coming back in fashion again, at least it is here in the UK. Stumbling across this recipe has spurred me into finally giving it a go!
Jess says
I’ve made this twice this week now and it’s worked both times! I didn’t add the milk powder and it’s still a good consistency. I will never go back to regularly buying yogurt from the store!
Nicole says
I'm so glad to hear that - thanks for letting me know!
Sm says
I'm very excited to give this a go. How long should it last once made?
Nicole says
I suggest using it within about a week. It's likely okay for longer than that, but I don't like to take any chances!